How to Season an Electric Smoker: 8 Easy and Simple Solutions
FaveGrills is reader-supported. If you purchase by clicking a link on this page, we may earn an Affiliate Commission at no extra cost. Learn more
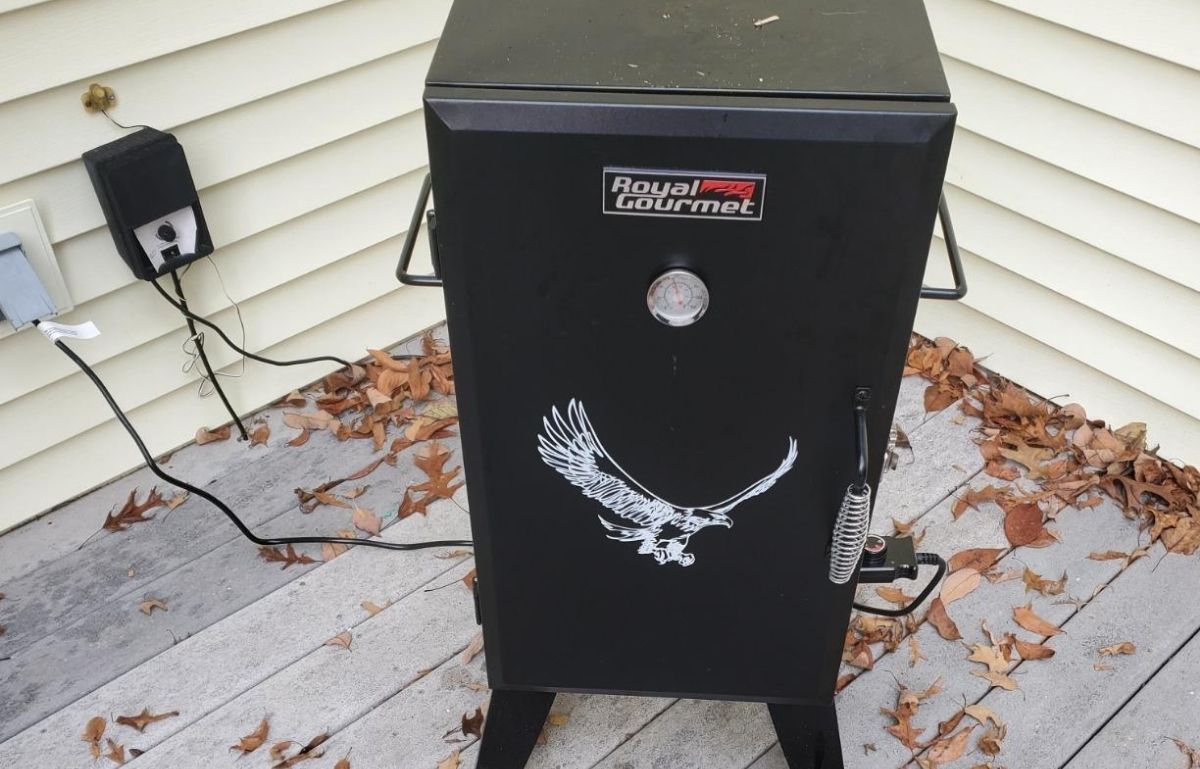
A relatively new and stunningly simple technique to begin smoking meat is with an electric smoker. They don’t have the same issues with temperature control as gas or charcoal smokers, which can be rather demanding. Electric smokers are excellent for beginner smokers because they offer a decent balance between usability and flavor.
It is simple for anyone to enjoy that authentic smoked BBQ flavor without burning coals for hours because most electric smokers have temperature controls that truly provide “set it and forget it” functionality. You must start cooking by placing your food in the electric smoker and turning it on.
However, it’s challenging, and we will guide you on how to start and end your seasoning method.
Is that a Good Idea to Season an Electric Smoker?
While it might seem unusual to switch on your smoker without any food inside, but it has several benefits.
If you don’t season your smoker before cooking your preferred meat, some residues may include oil, which contains petroleum and may damage the flavor of your smoked food. Hence, seasoning removes any remnants from the manufacturer’s parts.
Moreover, your vertical electric smoker may have paint inside. So, the seasoning will prevent it from rusting. It’s essential if you intend to retain your smoker for a long time.
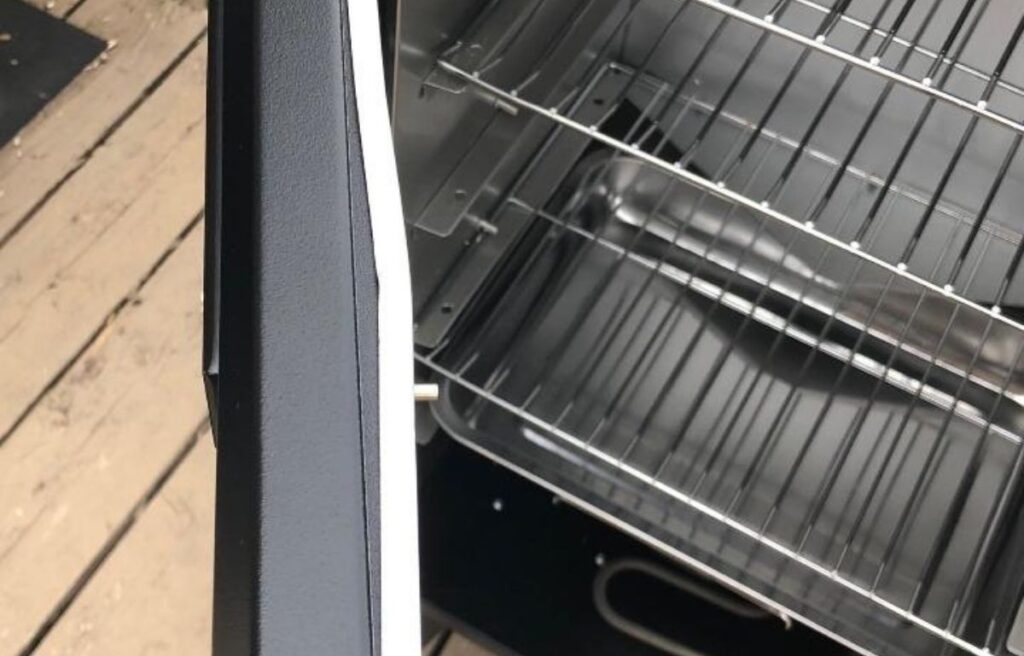
However, seasoning your smoker produces a thin layer of smoke that aids in enhancing the smokey flavor of your meat. Because of this, your food gets a natural taste with a better outcome.
Before seasoning, some experts clean their smoker with a moist cloth. It’s up to you whether you wipe out your smoker before seasoning; make sure to use a soft cloth to avoid scratching the interior.
How Much Time Does It Take Season a New Smoker?
It will probably take a full day to season your new smoker. In addition to letting the smoker run on high heat for three full hours, you should also give yourself enough time to clean the smoker with soap and water and let the parts dry before putting them together.
You should give the seasoning procedure 24 hours if you plan to introduce your brand-new smoker at an upcoming event. You could have enough time to show your expertise before the actual event. So, the seasoning will help to enhance your smoking process.
What Things do You Need Before Seasoning an Electric Smoker?
Before starting the cleaning process, you should see the essentials listed below.
- A budget-friendly, advanced electric smoker and all of its accessories
- A container of wood chips
- The cleaning cloth (moist and dry)
- Cooking oil spray
- Dish Detergent
Do You Know?
It’s essential to soak your wood chunks and chips for at least an hour before smoking. The idea is that this will slow combustion and produce smoke with a better flavor than dry wood.
How to Season an Electric Smoker: Step-by-Step Guide
This step-by-step guide mainly focused on seasoning an electric smoker, but the concepts also apply to other smokers.
An instruction manual is there for new electric smokers. For detailed instructions for your particular type of smoker, consult the handbook.
Step 1: Assemble Your Smoker Properly
Even though your new smoker will likely come pre-assembled, we recommend buying a preassembled smoker because it’s not easy to assemble a smoker.
If you feel difficulty, you should read the manufacturer’s instructions on assembling the parts after taking everything out of the smoker’s packaging box.
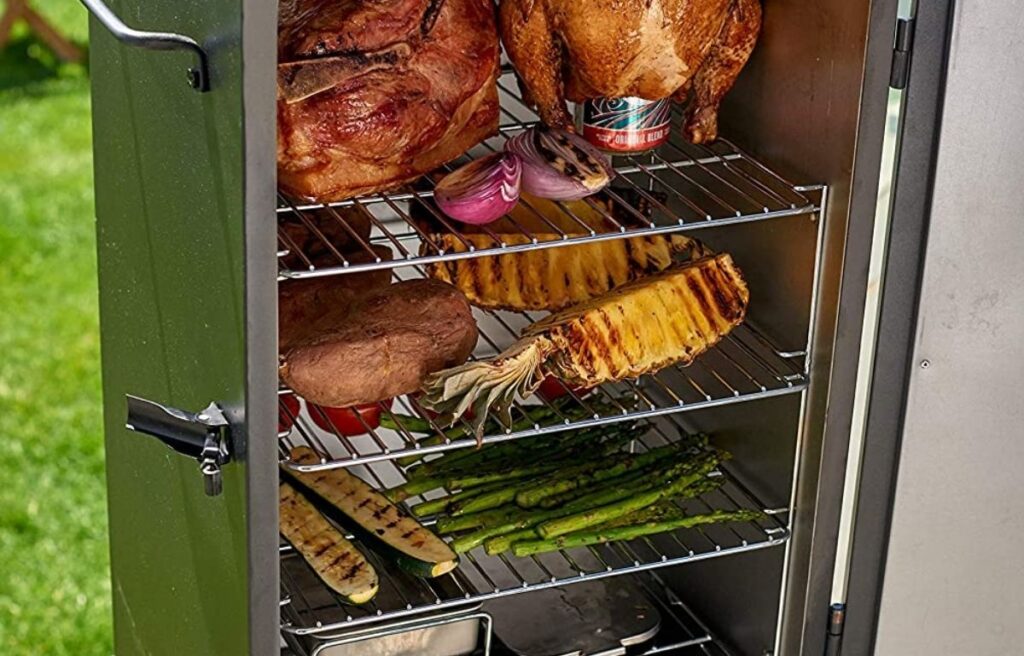
Never start the smoker if something is missing or broken. First, replace these defective components because they could result in serious issues. In the end, you must check the screws and nuts for proper tightness.
Step 2: Wash it With Mild Soap
Nothing special is for this simple step because you may have everything at home. First, you should prepare a sponge or cloth, warm water, and mild soap.
Start by cleaning the interior of your new smoker, including the top, bottom, sides, grates, racks, and trays, with a moist cloth or sponge and mild soap. Next, rinse every surface.
A similar process is for external surfaces. You can use a dry cloth to wipe the remaining water. Now, open the door and let it dry for some time.
Step 3: Season With a thin layer of Cooking Oil
Apply cooking oil to the interior of your smoker once it has been thoroughly dried. Remove the racks, drip, and water pan from the smoker.
Spraying oil onto the cloth will allow you to cover the inside surfaces of the smoke chamber with it.
Use no more than a thin, non-dripping application of oil. Be careful not to cover the heating elements with it as well.
Arrange everything according to the manual, leaving the grates empty. Never supply them with food, fuel, or water.
Step 4: Connect the Plug and Start the Smoker
This step is essential to check the capability of your smoker. You should plugin the smoker in the power outlet and set it at a high temperature. Additionally, it will go well if you open the vents and let the device run for three hours. Smoke will not accumulate in the cooking chamber and will leave through vents and doors.
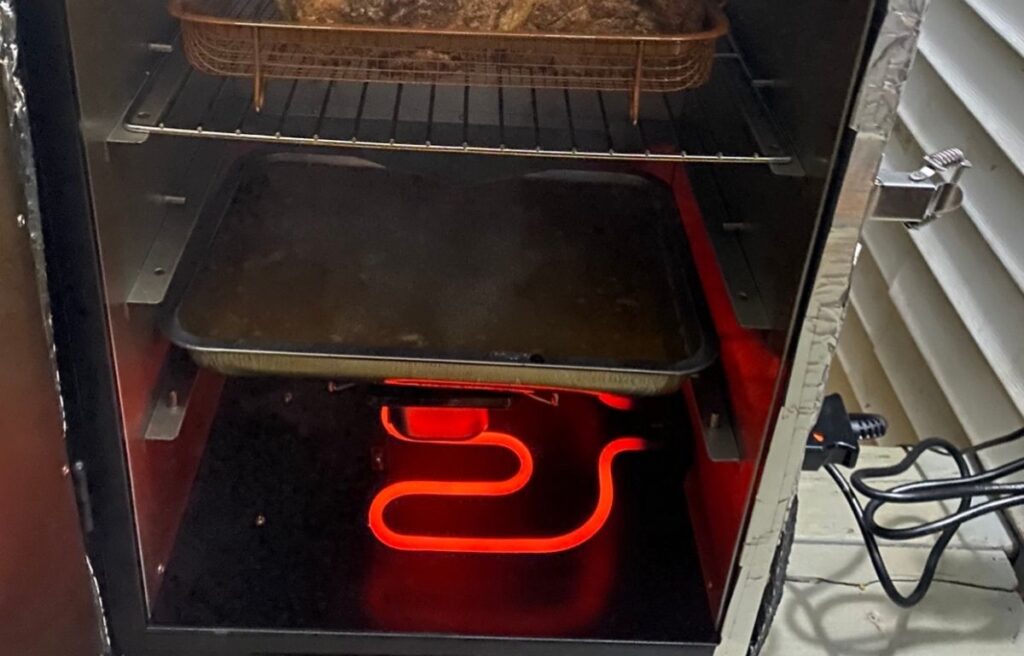
Seasoning will allow your smoker to perform at its best, and you can also check for any damage or malfunction. So, always do this step before adding wood chips to the firebox.
Step 5: Add Wood Chips
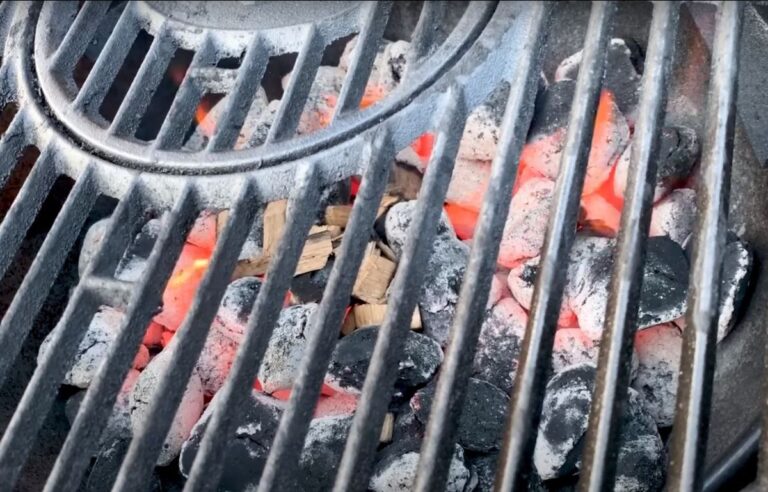
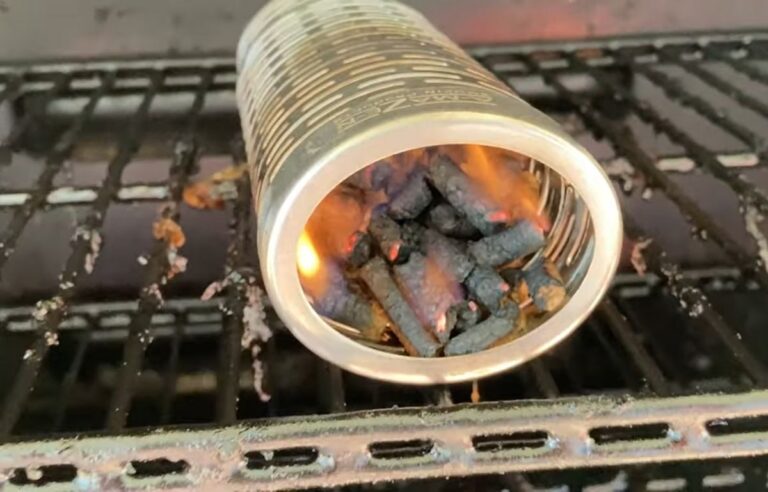
The flavors that different types of wood products can vary greatly. Generally, lighter fruit woods like apple and cherry go well with anything, especially white meats. Your chicken or ribs will taste amazing if you use heavier woods like mesquite and oak.
You should add wood chips to your smoker when there are just after one and a half hours. To avoid overloading the wood chip loader, you must be cautious about how many you add at once.
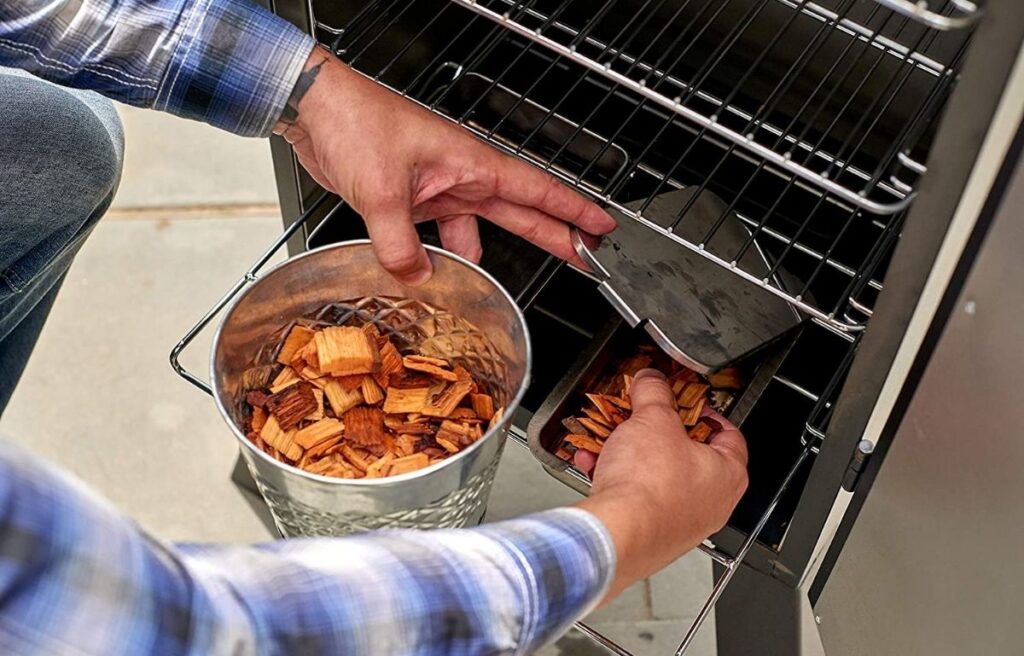
You should add 12–14 wood chips first, then wait 5 – 10 minutes before adding more. As long as there is room and the first two rounds of wood chips have started to turn to ash, you can add a third group of 12–14 wood chips. This process is important to learn and fill the wood chip tray with accurate fuel.
Step 6: Clean the unit when it is warm
You should not touch the warm unit without gloves. You only need cold soapy water; no chemical solutions are needed. Please make sure the outlet is not disconnected.
You should use soft and wired brushes to remove grease and debris. However, try to rub dirt and debris away using moist towels and remove the grease tray. This cleaning can be done on warm units because grease and debris may stick intensively on cold smokers.
Step 7: Pay attention to all surfaces
You should clean all surfaces, including an electric smoker’s exterior and interior body frame. So, don’t forget to wipe the bottom with a cloth and wash the grates of the smokers.
You can use a mild soapy solution or detergent to clean the hard surfaces. To remove all the remnants, you should wipe them with a paper towel. Another option for cleaning an outdoor smoker is soap.
Step 8: Complete Your Seasoning Process
You can turn off your new electric smoker after some hours. The inside chamber will be filled with extremely hot smoke, so open it carefully. Let it cool for some time before removing the ashes. You can easily remove the leftovers and prepare for the next task.
Moreover, your smoker is ready to place food items. You can marinate your steak while your smoker is ready to accomplish your cooking tasks.
Estimated Cooking Time in an Electric Smoker
The cooking and target temperature in an electric smoker is different. You should see the comparison table below to estimate the accurate smoking time for your specified meat.
| Meat | Estimated Cooking Time | Cooking Temperature | Target Temperature |
|---|---|---|---|
| Beef | 70 – 90 Minutes per Pounds | 225 Degrees Forienhiet | 190F for Brisket and 175F for Ribs |
| Poultry | 30 – 45 Minutes per pound | 250 Degrees Foreinheit | 165 Degrees Foreinheit |
| Fish | 40 – 60 Minutes per pound | 225 Degrees Foreinheit | 150 Degrees Foreinheit |
How long do you Season an Electric Smoker?
When you buy an electric smoker, you will get an instruction manual with all the details and probably the method of seasoning. You will get the complete seasoning method in some models, but it’s better to learn the basics yourself. An electric smoker typically requires 3 hours of seasoning to prepare the smoke. Seasoning can be completed in as little as two hours on some models.
Things to Consider When Seasoning Your Smoker
Although seasoning a smoker is very simple, there are a few things to consider. It takes a lot of heat to season an electric smoker, which can be dangerous. If you are a beginner, we recommend using a vertical electric smoker to start your smoking journey with full confidence.
Check the instructions
You can see all the basic guidelines for an electric smoker, but certain smokers may have different instructions. Always double-check your manual instructions to start the seasoning process. usually, it takes time to start smoking with a new electric smoker because you should clean all the surfaces and preheat the device after a complete cleaning session.
Never oil and Touch the Heating Element
While you want a nice coat of oil to cover your entire smoker, this does not apply to the heating element because oil is combustible. Ensure the heating element won’t come in contact with any of the oil you use to coat the smoker’s remaining surfaces.
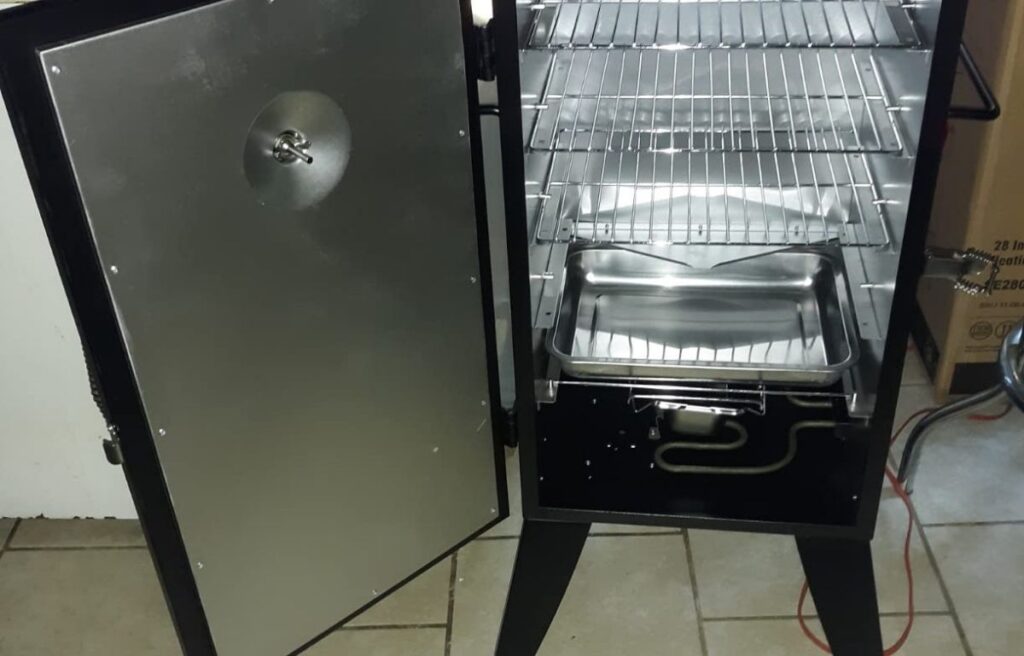
When you’ve finished seasoning your smoker, it can be tempting to turn it on again, tweak the accessories, or get your smoker ready to start smoking meat. You should never touch a hot smoker since they remain hot for hours after they have been used.
Also, See
Final Thoughts
To season an electric smoker is not difficult at all, and by using these simple steps, you can ensure that your smoker continues to produce top-notch smoked meat for many years. You should clean it off and then season your smoker according to the instruction booklet.
You can use and cook food when you are done with seasoning. Never take this process for granted because it’s an initial step to let you open the ways of smoking techniques. If you are a beginner and want to start your smoking journey with an effortless experience. You should read our guide on the best smokers for beginners to smoke with ease.
Your opinion is valuable to us
We researched and found some effective ways to season an electric smoker. If you have bought a new electric smoker. you can apply these techniques. If this guide is helpful for you, do tell us in the comment section.
Frequently Asked Questions
Is that necessary to season a new smoker?
Yes, it’s essential to season a new smoker to check your device’s parts and grilling capability.
Should I season my smoker at a high temperature?
You must set your smoker at the highest possible temperature for optimal results. At high temperatures, you must open the vents for cross-ventilation.
Does palm oil is good for seasoning?
You can season your smoker with any cooking oil, including palm, coconut, canola, or something else. You must coat the entire surface with oil for the best results.

